Hi everyone.
For the last couple of months, I’ve been working on a GUI library in Julia, using OpenGL. The goal is to simplify the development of engineering and scientific applications.
Aside from shaders, the whole package is written in Julia, enabling easy distribution of apps through the Julia package registry. That is the idea, at least.
I hope it can enable small programs, such as filter designers, similar to those found in other packages.
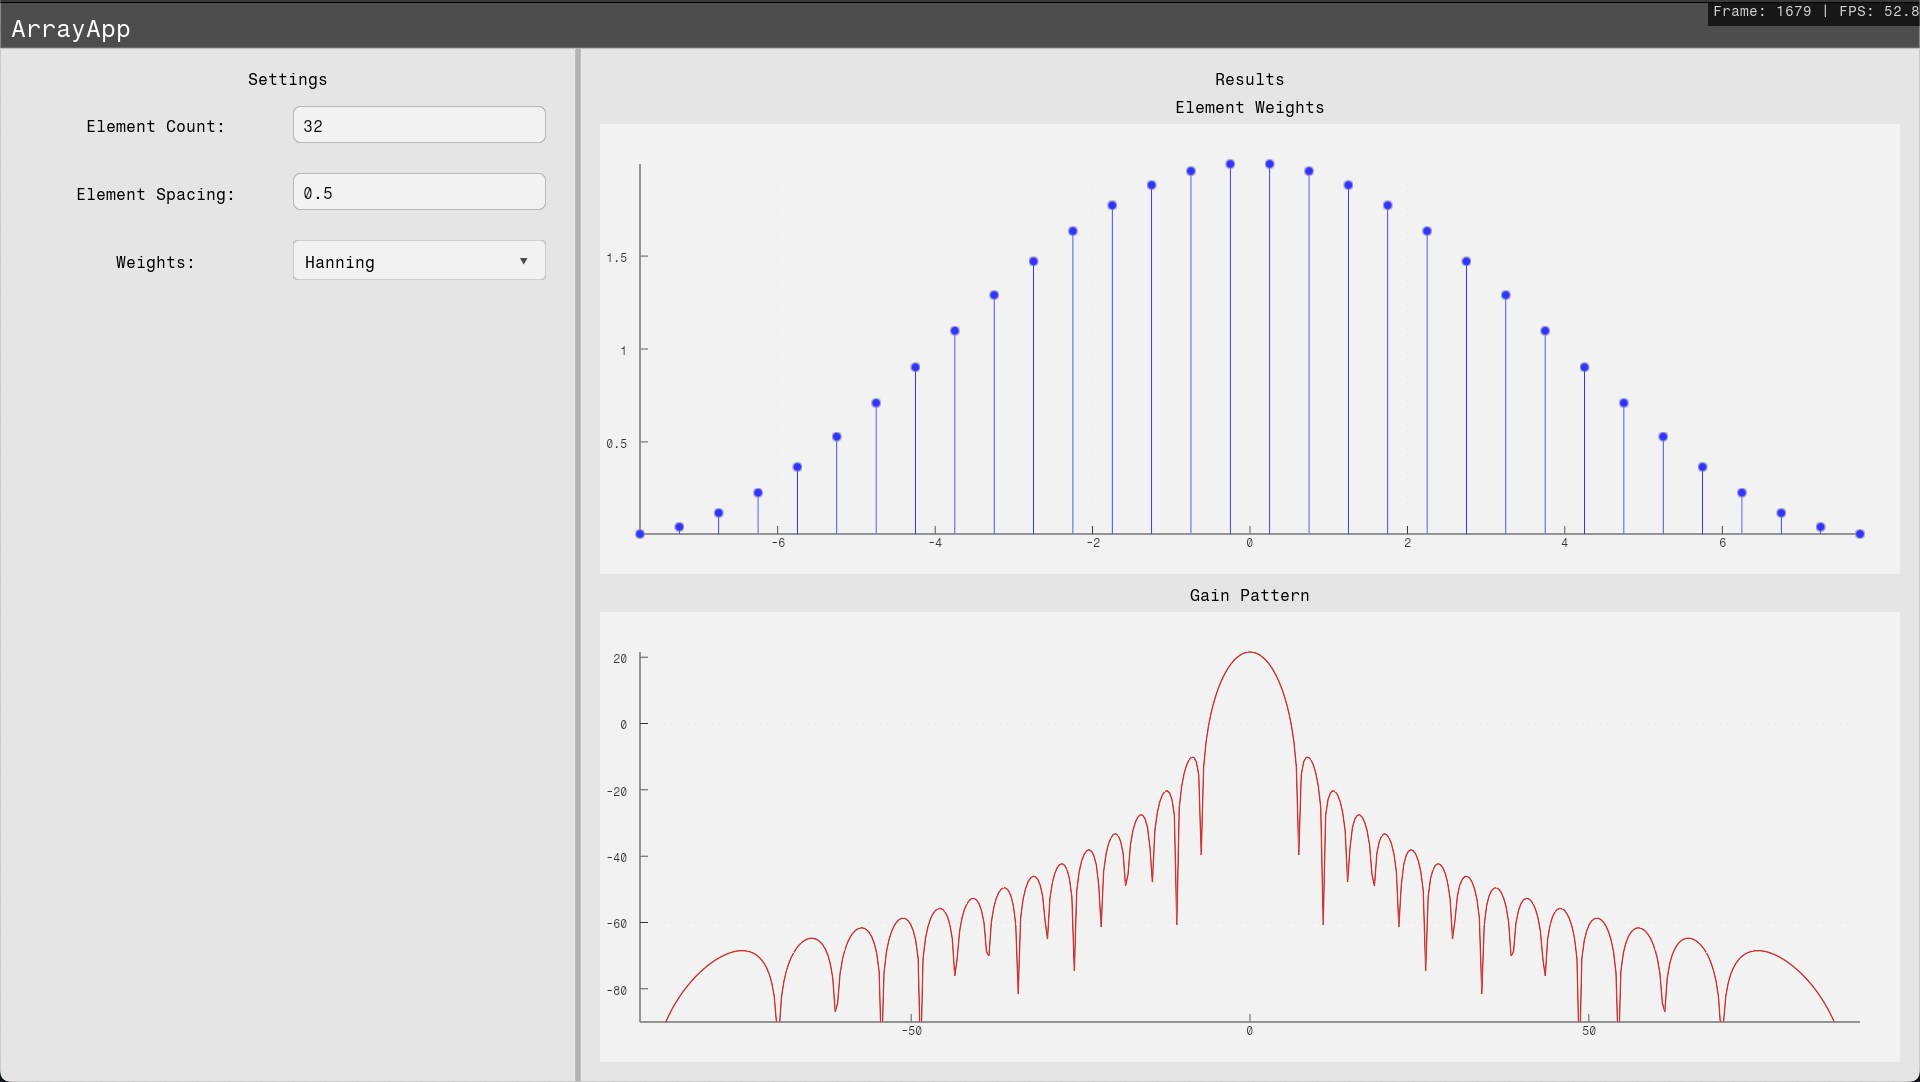
Below is a screenshot from a small app using the library I’m working on.
This is my first endeavor into this kind of software, so I would love to get some feedback from you guys.
It’s still a work in progress, but I figured it’s better to get feedback before every bad decision is written in stone.
The library is made to have a functional interface, with all state management handled by the user.
Below are some selected examples from the docs:
Layout
using Fugl

function MyApp()
    Container(
        Row(
            Container(),
            Container(),
            Container(),
        )
    )
end

screenshot(MyApp, "row.png", 840, 300);

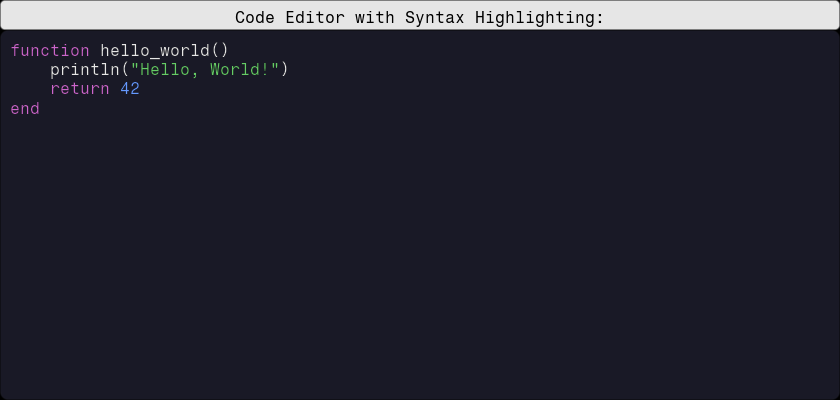
User input
using Fugl
using Fugl: Text

code_editor_state = Ref(EditorState("""function hello_world()
    println("Hello, World!")
    return 42
end"""))

function MyApp()
    IntrinsicColumn([
        IntrinsicHeight(Container(Text("Code Editor with Syntax Highlighting:"))),
        CodeEditor(
            code_editor_state[];
            on_state_change=(new_state) -> code_editor_state[] = new_state,
            on_change=(new_text) -> println("Optional hook. Code is now: ", new_text[1:min(20, length(new_text))], "...")
        )
    ], padding=0.0, spacing=0.0)
end

screenshot(MyApp, "CodeEditor.png", 840, 400);
using Fugl
using Fugl: Text

# Initialize dropdown state
options = ["Small", "Medium", "Large", "Extra Large"]
# Create initial state using Ref for reactivity
dropdown_state = Ref(DropdownState(options; selected_index=1, is_open=true)) # force it open for demonstration purposes.

# Custom styling
dropdown_style = DropdownStyle(
    text_style=TextStyle(size_px=18.0f0),
    corner_radius_px=6.0f0,
    padding_px=12.0f0,
    item_height_px=32.0f0,
    max_visible_items=3
)

function MyApp()
    return Container(
        IntrinsicColumn([
            IntrinsicHeight(Container(
                Text("Dropdown example:"; style=TextStyle(size_px=20.0f0))
            )),
            Dropdown(
                dropdown_state[];
                style=dropdown_style,
                on_state_change=(new_state) -> dropdown_state[] = new_state,
                on_select=(value, index) -> println("Selected: $value (index: $index)")
            )
        ])
    )
end

screenshot(MyApp, "dropdown.png", 840, 400);

You’ll see that all the examples have the screenshot function to capture an image.
To actually run the UI, there is a run function:
Fugl.run(MyApp, title="Demo", window_width_px=800, window_height_px=600, fps_overlay=true)
Creating Components
The user can create “composite components” as functions with existing Fugl components like the example below:
using Fugl: LinePlotElement, SOLID

weight_plot_state = Ref(PlotState())
gain_plot_state = Ref(PlotState(; initial_y_min=-90.0f0))

# Common plot style
style = PlotStyle(
    background_color=Vec4{Float32}(0.95, 0.95, 0.95, 1.0),
    grid_color=Vec4{Float32}(0.7, 0.7, 0.7, 0.3),
    axis_color=Vec4{Float32}(0.2, 0.2, 0.2, 1.0),
    show_grid=true,
    show_axes=true,
    padding_px=40.0f0,
)

function ResultPlots(antenna_placement::AbstractVector, weights::AbstractVector, angles_deg::AbstractVector, antenna_gain_dB::AbstractVector)

    weights_element = StemPlotElement(
        weights;
        x_data=antenna_placement,
    )

    gain_element = LinePlotElement(antenna_gain_dB;
        x_data=angles_deg,
        color=Vec4{Float32}(0.8, 0.2, 0.2, 1.0),
        width=2.5f0,
        line_style=SOLID
    )

    IntrinsicColumn([
            IntrinsicHeight(Text("Results")),

            # Weights plot
            IntrinsicHeight(Text("Element Weights")),
            Plot(
                [weights_element], style,
                weight_plot_state[],
                (new_state) -> weight_plot_state[] = new_state
            ),

            # Gain pattern plot
            IntrinsicHeight(Text("Gain Pattern")),
            Plot(
                [gain_element], style,
                gain_plot_state[],
                (new_state) -> gain_plot_state[] = new_state
            ),
        ], spacing=10.0)
end
Or basic components, like the example below:
mutable struct ContainerStyle
    background_color::Vec4{<:AbstractFloat} #RGBA color
    border_color::Vec4{<:AbstractFloat} #RGBA color
    border_width_px::Float32
    padding_px::Float32
    corner_radius_px::Float32
end

function ContainerStyle(;
    background_color=Vec4{Float32}(0.9f0, 0.9f0, 0.9f0, 1.0f0),
    border_color=Vec4{Float32}(0.0f0, 0.0f0, 0.0f0, 1.0f0),
    border_width_px=4.0f0,
    padding_px::Float32=6f0,
    corner_radius_px::Float32=5.0f0
)
    return ContainerStyle(background_color, border_color, border_width_px, padding_px, corner_radius_px)
end

struct ContainerView <: AbstractView
    child::AbstractView  # Single child view
    style::ContainerStyle
    on_click::Function
    on_mouse_down::Function
end

"""
The `Container` is the most basic GUI component that can contain another component.
It is the most basic building block of the GUI system.
"""
function Container(child::AbstractView=EmptyView(); style=ContainerStyle(), on_click::Function=() -> nothing, on_mouse_down::Function=() -> nothing)
    return ContainerView(child, style, on_click, on_mouse_down)
end

function measure(view::ContainerView)::Tuple{Float32,Float32}
    # Measure the size of the child component
    child_width, child_height = measure(view.child)

    # Add padding
    padding = view.style.padding_px
    return (child_width + 2 * padding, child_height + 2 * padding)
end

function apply_layout(view::ContainerView, x::Float32, y::Float32, width::Float32, height::Float32)
    # Extract padding from the container's layout
    padding = view.style.padding_px
    padded_x = x + padding
    padded_y = y + padding
    padded_width = width - 2 * padding
    padded_height = height - 2 * padding

    # Compute the child's position and size based on alignment
    child_width = padded_width
    child_height = padded_height

    child_x = padded_x
    child_y = padded_y

    return (child_x, child_y, child_width, child_height)
end

function interpret_view(container::ContainerView, x::Float32, y::Float32, width::Float32, height::Float32, projection_matrix::Mat4{Float32})
    # Compute the layout for the container
    (child_x, child_y, child_width, child_height) = apply_layout(container, x, y, width, height)

    # Render the container background
    bg_color = container.style.background_color
    border_color = container.style.border_color
    border_width_px = container.style.border_width_px
    corner_radius_px = container.style.corner_radius_px

    vertex_positions = generate_rectangle_vertices(x, y, width, height)
    draw_rounded_rectangle(vertex_positions, width, height, bg_color, border_color, border_width_px, corner_radius_px, projection_matrix)

    # Render the child
    interpret_view(container.child, child_x, child_y, child_width, child_height, projection_matrix)
end
The library also enables use of custom shaders for complex components.
You can browse the rest of the examples here:
If you want to see it in action, there are some examples in the test folder you can play with.
https://github.com/ErikBuer/Fugl.jl
I’d love to hear what you guys think!